

In this blog, I will walk you through the steps involved in hosting your MERN stack (MongoDB, Express, React, Nodejs) application on Azure cloud with free credits from azure education service. If you want to learn to develop a MERN stack application, you have to wait a while. For now, we'll discuss how we can host the application.
What is Azure Cloud?
Azure is a cloud platform provided by Microsoft and is one of the cheapest clouds. Although it is not always the beginner's choice, it is very economical and has all the features of other cloud platform services.
Things require before start
The things that you have required to host your MERN stack application are:
A MERN stack project (Obviously 😅)
An azure account with credits
Basic knowledge of Linux commands
Creating Azure App Service
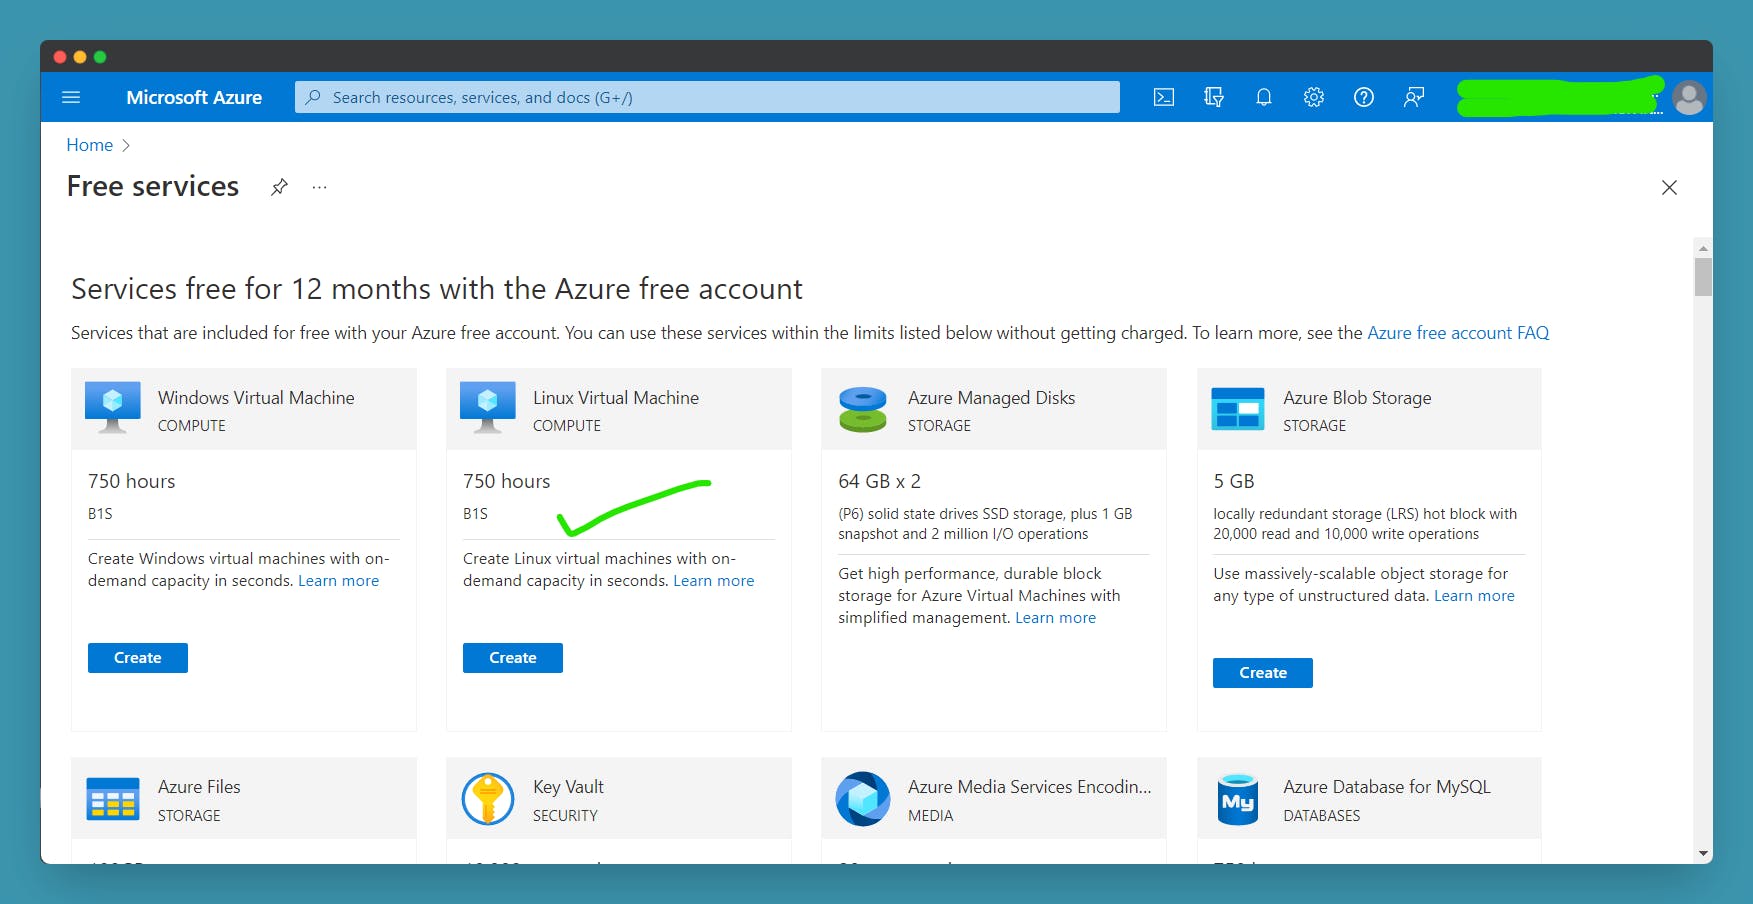
Visit portal.azure.com and create a free account. Once you have created an account, log in to your dashboard and search for free services. Choose the Linux virtual machine service and give it a name
Setting up a Virtual Machine
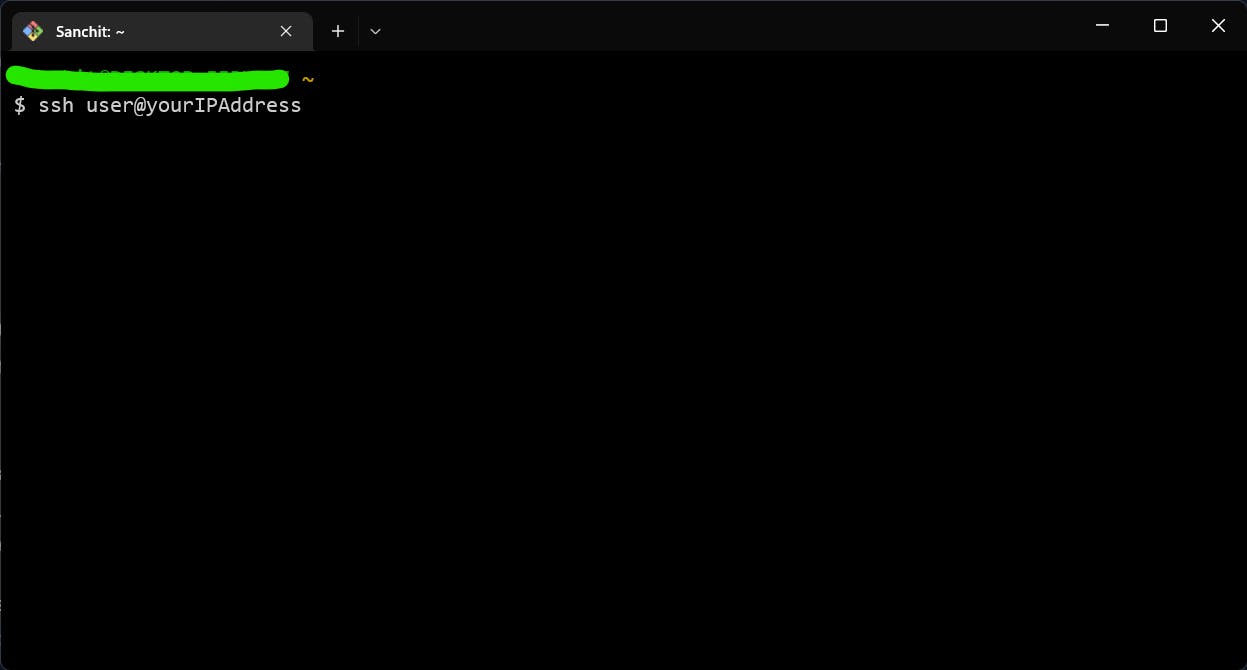
To set up a virtual machine, ssh into the virtual machine using the username, IP address and password
Now get the root access by typing sudo su. Now, type the below commands to update and upgrade, and install the Nginx along with all the dependencies present in a virtual machine
sudo apt-get update && apt-get upgrade -y
sudo apt-get install nginx -y
After this, type:
ufw allow "Nginx Full"
ufw allow "OpenSSH"
ufw enable
ufw status
This will configure the firewall for SSH and Nginx connection.
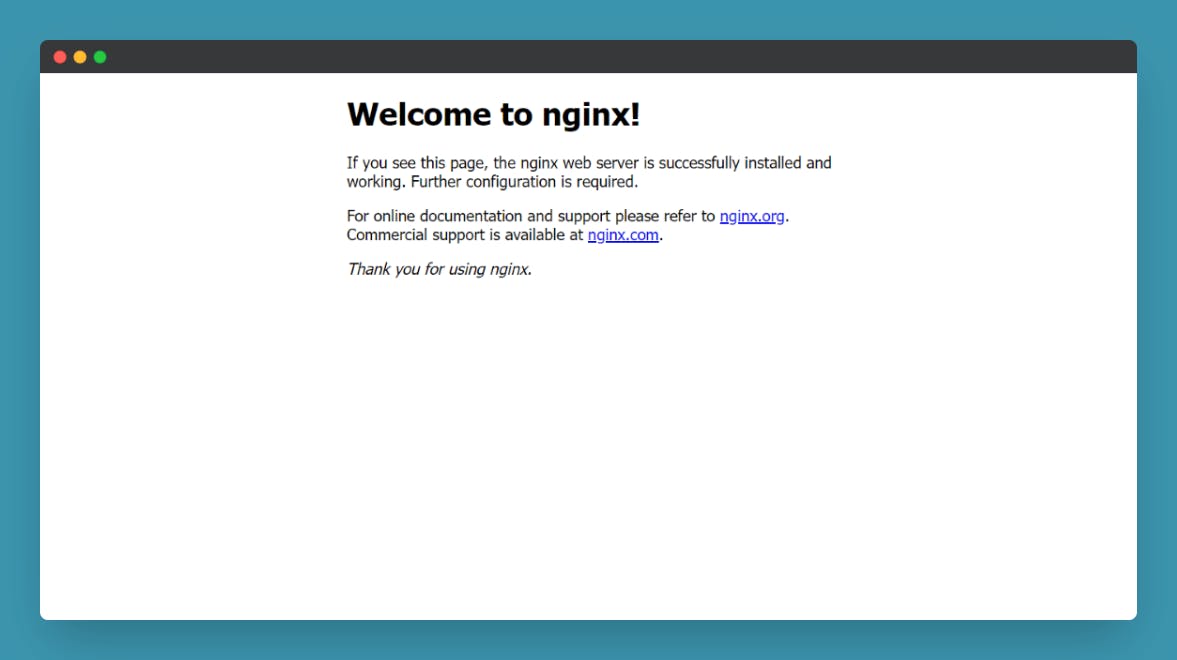
Now copy the IP address from the Azure Portal and hit enter on your search bar and it will show you the default Nginx page. If that page appears, it means that your Nginx configuration is successful.
After that, you have to make the bundle of your react application(in the MERN stack) by typing the following command into your terminal
npm run build
or
yarn build
now put the contents of your build folder into the: /var/www/html folder.
Nginx Installation & Configuration
Now type the following commands into the terminal to make a server.conf file which has the configurations for the MERN stack app.
cd /etc/nginx/sites-available/
touch server.conf
nano server.conf
Now, add the below code to the file:
server {
        listen 80;
        server_name <server name>;

        root /var/www/html;
        index index.html index.htm index.nginx-debian.html;
        try_files $uri /index.html;

        location /server {
            proxy_pass http://localhost:3001;
            proxy_http_version 1.1;
            proxy_set_header Upgrade $http_upgrade;
            proxy_set_header Connection 'upgrade';
            proxy_set_header Host $host;
            proxy_cache_bypass $http_upgrade;
       }
}
After this, save the file by pressing ctrl/cmd + o and exit the terminal by pressing the commands ctrl/cmd + x .
Now type the following command to link it to the Nginx server
ln -s /etc/nginx/sites-available/server.conf /etc/nginx/sites-enabled/server.conf
After this, a file is created on the location /etc/nginx/sites-enabled/ with the name server.conf. Now restart the Nginx server by typing the following command:
nginx -t
systemctl restart nginx
This command will show the test logs as well as restart the server if everything is successful.
React js Configuration
Now that you've configured your Nginx, go to the location /var/www/html and delete the files which are there. To do that type the following commands:
cd /var/www/
sudo rm -rf html/* # use sudo if you don't have root access.
cd html
After that, paste the contents of your build folder that you have created on your local machine into the HTML folder. This HTML folder helps serve the static files on the server. To check if your front end is working by pasting your IP address into a web browser and hit enter.
Node js Installation & Configuration
After running the front end, you have to create a node js environment to host your back end and front end. To install node.js, type the following commands into the terminal:
curl -fsSL https://deb.nodesource.com/setup_18.x | sudo -E bash -
sudo apt-get install -y nodejs
This will install the node js v16 into the virtual machine. Now, before doing anything get the root access by typing the command sudo su into the terminal and provide the machine's password if needed.
Now clone your backend folder in /root/ and make sure that the folder name in which your node js code exists should be the server. Now go into the folder such that your path will be /root/server and type npm install to install the required dependencies in the Linux virtual machine. Now to start the node js server, type npm start and make sure your server is running at port 3001 as we have configured in the Nginx server file: proxy_pass http://localhost:3001;
Now visit the IP/server and check whether your backend is working or not. If it isn't there might be some issue in the configuration. You can reach out to me if you don't understand anything.
PM2 Server setup
If everything above is working fine, you have to configure the PM2 server in the backend. Generally, when you log out of your virtual machine, your node js server did shut down. To avoid that, you have to configure the PM2 server. To install and run that first visit the /root/server and type the following commands:
npm install pm2 --global
pm2 start index.js -i max
If your starting point of the node js server is other than index.js, make sure you type that instead and here you have completed the setup 🎉.
Conclusion
Congratulations on hosting a website on the Linux Virtual Machine with the Nginx server. Now you can host any website within a few minutes.
To set up the CI/CD pipeline, visit the blog: CI/CD Pipeline using GitHub Actions with React.
Thank you! for reading, please leave your comments if any ✌️
Don't forget to bookmark this blog for the future 📌
Connect with the author: