

In this blog, I am going to go over the steps on how to implement a CI/CD pipeline using GitHub Actions on a Linux Virtual Machine and deploying a simple React js project on it.
Things require before start
You have a basic knowledge of:
Git & GitHub
Nginx server
Linux commands
Steps to Action Runner of Virtual Machine
Before following the steps to set up a pipeline using GitHub actions, you have to check out how to do this manually: How to host MERN Stack Application on Azure Cloud
Now that you have done the basic setup (as the first time you have to do the setup manually) we can start by creating a repository on GitHub and pushing your code in it.
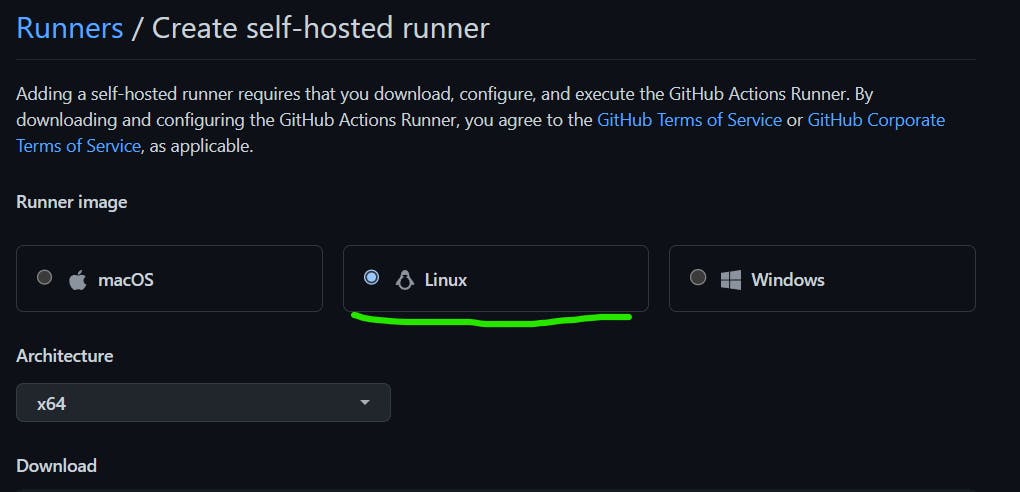
Now, go to the settings tab and choose the actions option from the left sidebar and choose the runner option. Then click on the New self-hosted runner

After clicking on that, you will have 3 options to choose the Operating Systems. You have to choose Linux OS and then you have to copy and paste the commands into your virtual machine.
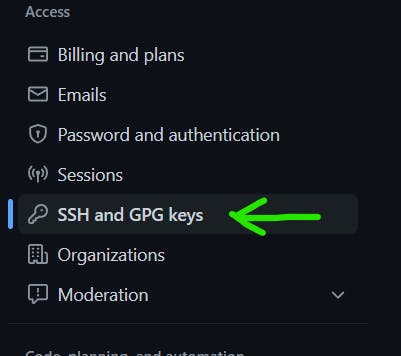
Now, you have to add your virtual machine's SSH key to GitHub. To create the key type the following commands
sudo ssh-keygen -t ed25519
After that just press enters until the prompt exits.
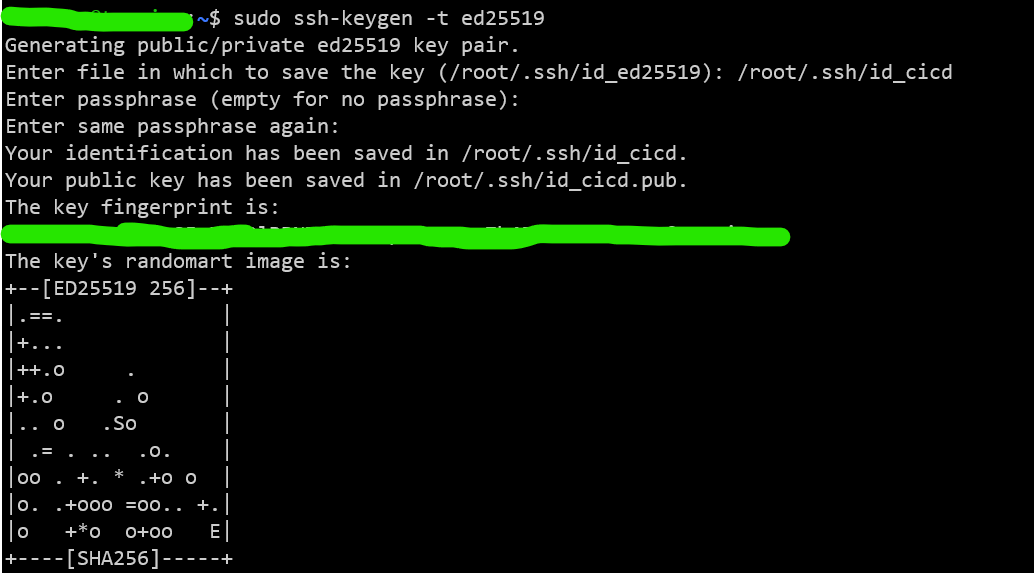
Now type sudo cat /root/.ssh/id_cicd.pub to get your SSH key you have to paste it into the settings of your GitHub account.
After that, copy the following commands that you have to paste line by line in your Virtual Machine terminal. Then just press enter till the prompt exits.

Now type the following commands and hit enter
sudo ./svc.sh install
sudo ./svc.sh start
Steps to setup GitHub Actions for CI/CD
Now that you have set up the action runner on a virtual machine, go to your repo's action tab and choose the node js action under Continuous Integration
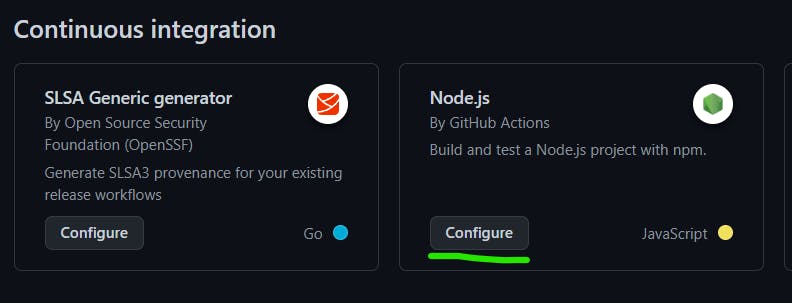
Now copy and paste the following text into the nodejs.yml file
# This workflow will do a clean installation of node dependencies, cache/restore them, build the source code and run tests across different versions of node
# For more information see: https://docs.github.com/en/actions/automating-builds-and-tests/building-and-testing-nodejs

name: Node.js CI

on:
  push:
    branches: [ "master" ]
  pull_request:
    branches: [ "master" ]

jobs:
  build:

    runs-on: self-hosted

    strategy:
      matrix:
        node-version: [16.x]
        # See supported Node.js release schedule at https://nodejs.org/en/about/releases/

    steps:
    - uses: actions/checkout@v3
    - name: Use Node.js ${{ matrix.node-version }}
      uses: actions/setup-node@v3
      with:
        node-version: ${{ matrix.node-version }}
        cache: 'npm'
    - run: npm install
    - run: npm run build
    - run: sudo cp -r dist/* /var/www/html/
And wait for the pipeline to execute. After execution, the action tab will show you the build result:
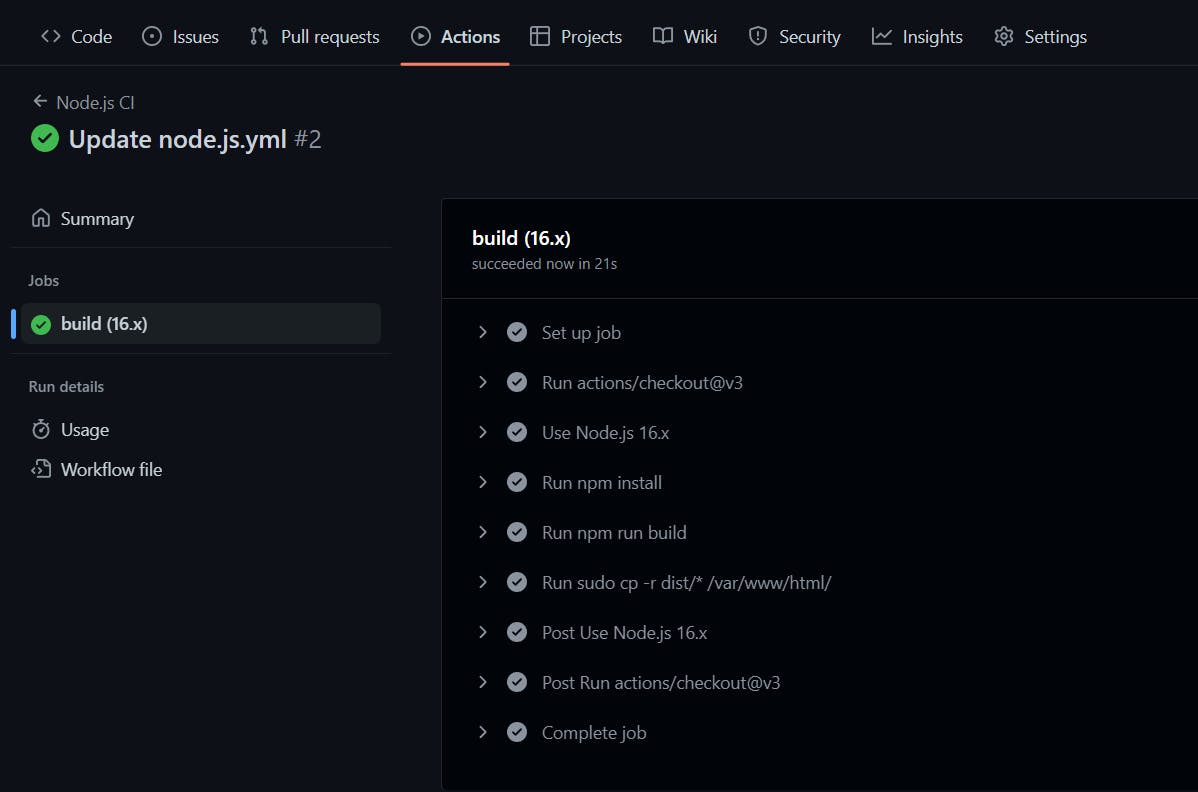
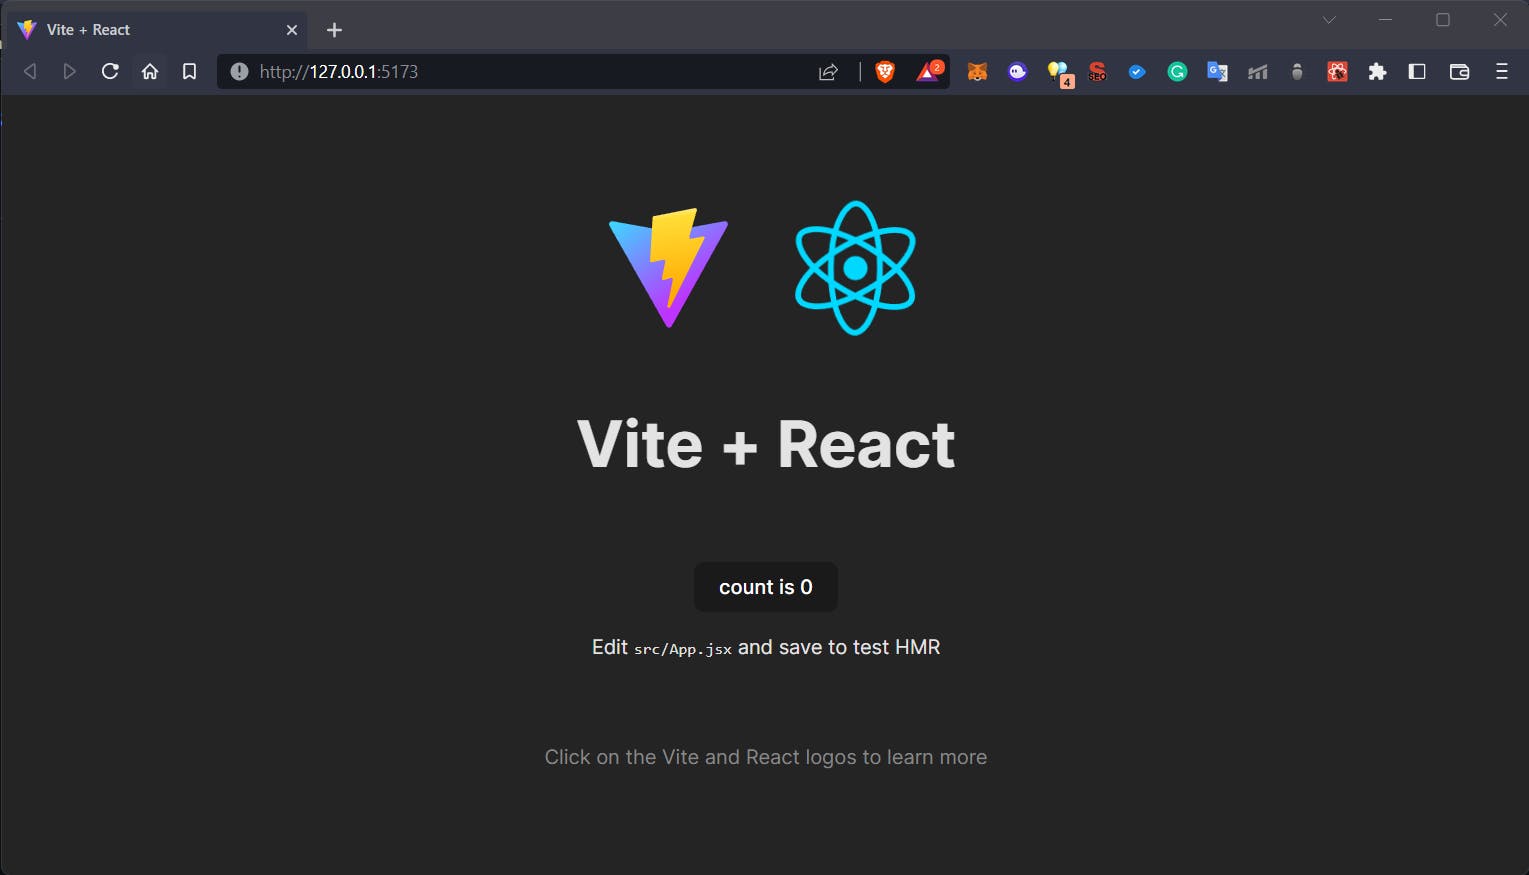
Now visit your IP address/domain to see the website that you've hosted using GitHub Action and viola, your changes are reflected🎉
Whenever you push or merge a pull request, the action will automatically trigger and the changes will be shown on your hosted website.
Thank you! for reading, please leave your comments if any ✌️
Don't forget to bookmark this blog for the future 📌
Connect with the author: