

As a developer, I'm constantly scouring for those nitty-gritty details because, let's face it, they make all the difference. But you know what really grinds my gears? 🤔 It's when I'm knee-deep in a project, collaborating with a bunch of other devs, and I stumble upon these painfully vague commit messages. Seriously, it's like trying to decode ancient Egyptian scribbles! 😤
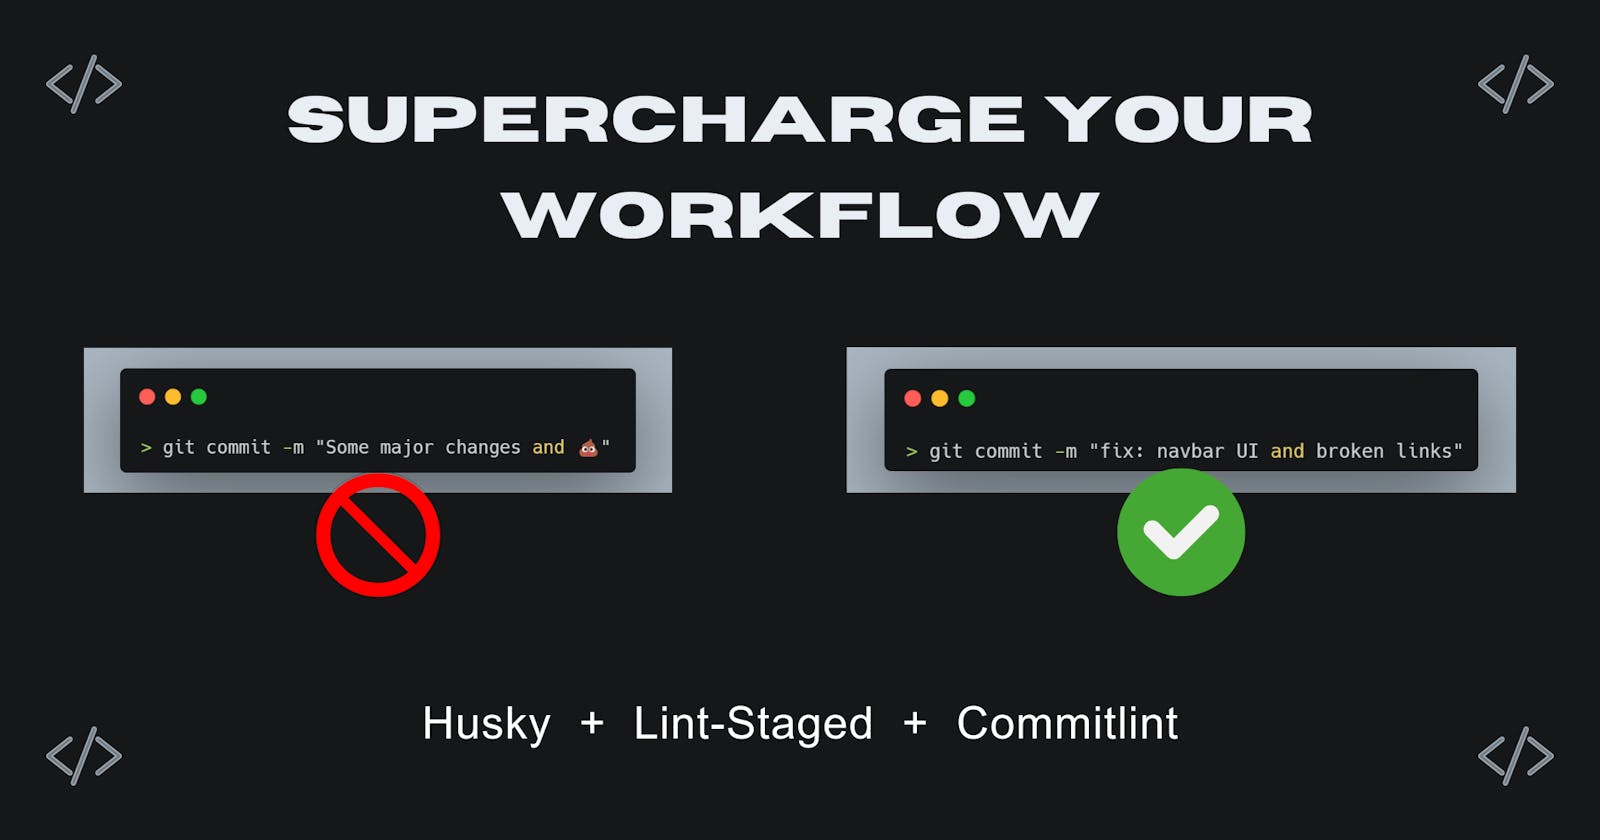
It's quite annoying when you are working a team of highly skilled developers and you find the commit messages like "add some changes" or "enhance code" or like "this should probably work-10" 😂.
But don't worry, I got you covered. Here are some of the awesome tooling configuration that I personally use in the projects whether I am working on a project alone or collaborating with other developers.
Initial Configuration
First install the below packages into your application (Note: these are the configurations for JavaScript and Nodejs, if you're interested in the configurations for some other projects, comment down below).
Refer the following command to install:
npm i --save-dev prettier lint-staged husky @commitlint/cli @commitlint/config-conventional
The packages we are installing for configurations are:
prettier: this package formats the code structure according to the guidelines provided in the
.prettierrclint-staged: this package lints down the files and execute the instructions configured in
.lintstagedrchusky: this package automatically lint your commit messages, code, and run tests upon committing or pushing
@commitlint/cli @commitlint/config-conventional: these packages provides a runtime scripts for commit checking
Lint Staged Configuration
After installation of all the packages, create .lintstagedrc file into the root of your project and copy paste the below code and add it into your file.
{
  "*.{js, jsx, ts, tsx}": [
    "prettier --write",
    "eslint --fix",
    "eslint"
  ],
  "*.json": [
    "prettier --write"
  ]
}
You can configure this file in any way you want. If you want to implement any more configurations at the time of staging you can add that in this file.
After setting up the above configuration, create .prettierrc file into the root of your project. The below mentioned configuration are some of my favorites but you can change it accordingly.
{
  "trailingComma": "all",
  "tabWidth": 2,
  "semi": true,
  "singleQuote": false,
  "bracketSpacing": true,
  "endOfLine": "auto",
  "printWidth": 100
}
Now that you have configured the files, run the below command to implement prettier formatter command. This line of code is a script so that if you want to run the prettier script independent of linting and commit.
npm pkg set scripts.format="prettier --write src/"
Configure Husky
Husky is a powerful software that enhances the ability to commit messages, run code and tests upon committing or pushing.
To initiate Husky, simply paste the below code in your terminal:
npx husky init
This will create a .husky folder and create a pre-commit script file.
Now run the below command to update the default husky pre-commit file with the one configured for lint-staged.
npx husky add .husky/pre-commit "npx lint-staged --concu
rrent false"
After that, you have to setup a prepare script so that your Husky with lint-staged supercharge your commit workflow. Simply run the below commands and let Husky prepare everything for you:
npm pkg set scripts.prepare="husky install"
npm run prepare
YOO HOO🎉
Your lint-staged configuration is complete. Now we can proceed with configuring the Commitlint.
Configuration for Commitlint
Commitlint helps you and your team to adhere a commit convention according to the configuration. To install the configuration, perform the following command in the terminal:
npm install --save-dev @commitlint/config-conventional @commitlint/cli
Now, to setup Commitlint into your application, you have to setup a commitlint.config.js file which contains the configuration of your commit syntax.
If you want a simple setup, you have to basically has to execute this below shell command to create a config file as well as write the config line in it:
echo "export default { extends: ['@commitlint/config-conventional'] };" > commitlint.config.js
Now, that you have set up the config file, you have to link it with your project so that, it checks you commit messages when you do a commit. To set up that, you have to run the below command to add the husky hook to integrate the commitlint into your project:
npx husky add .husky/commit-msg 'npx --no -- commitlint --edit ${1}'
This command will create a commit-msg file in .husky folder which contains the configuration to check commits on runtime. If you want to know more into the detail, you can checkout the link.
And that's basically it 👏. Now you have completed the setup to supercharge your workflow of a project where you can collaborate with many people without thinking of any linting issue.
Resources
Lint Staged: https://github.com/lint-staged/lint-staged
Thank you! for reading, please leave your comments if any ✌️
Don't forget to bookmark this blog for the future 📌
Connect with the author: