


Hello fellow developers, in this blog I am going through the steps on how to integrate Firebase Authentication with a Flutter app. Flutter is a cross-platform mobile application development framework that provides you with an easy syntax in the form of classes, methods and objects. It is very easy to use if you're familiar with Object-Oriented Programming languages like C# or Java.
Note: The whole configuration is for making Android Applications using Windows Operating System so the below configurations might require some additional changes according to the other platforms.
Things require before start.
Java (JDK 11 or above)
Android Studio
Default Flutter app
Firebase Configuration 🔥.
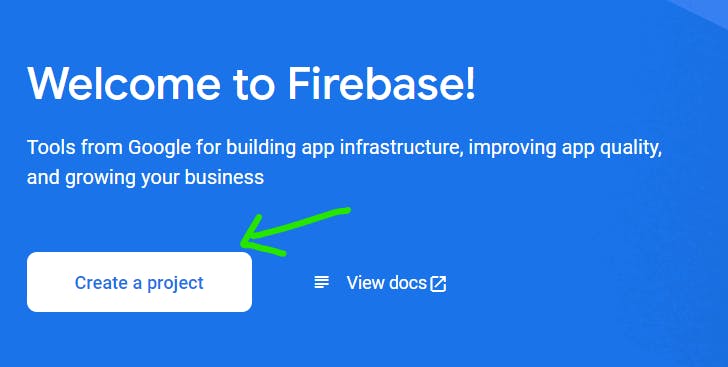
Go to Google Firebase and create a new project:
After making the new app, press the android button.

After clicking the android icon, fill in the details and press next. Note: every field is compulsory to fill for better integration.
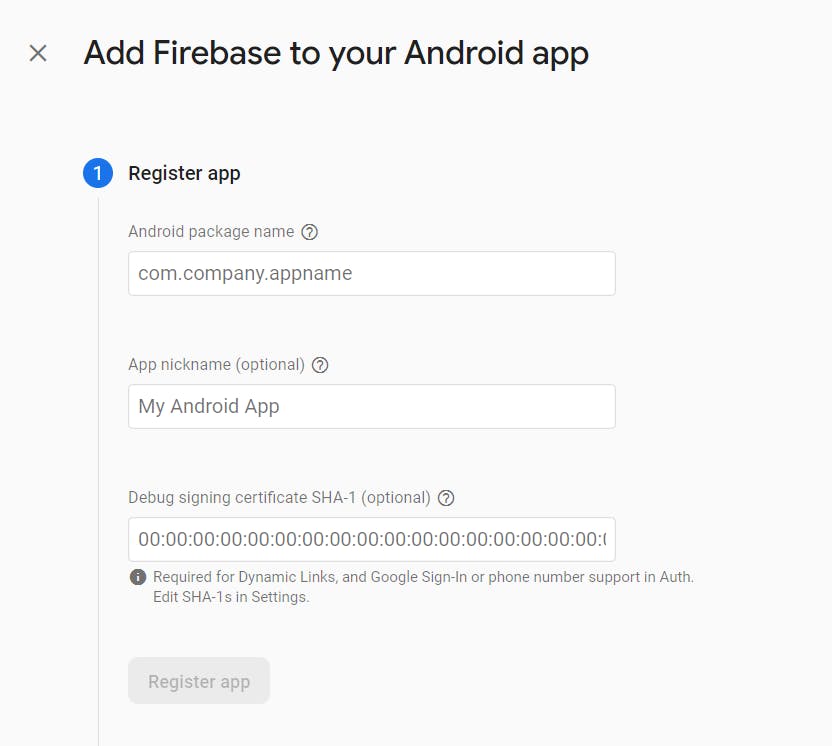
To get the package name, go to /android/app/src/main/AndroidManifest.xml and copy the package name.
Then give it any nickname of your choice. Don't forget to give it a debug signing certificate SHA-1. To generate that, go C:\Users\<username>\.android (if you are on Windows or [home path]/.android on Linux/MacOS) through the terminal and paste the following command to get the key.
keytool -list -v -alias androiddebugkey -keystore debug.keystore
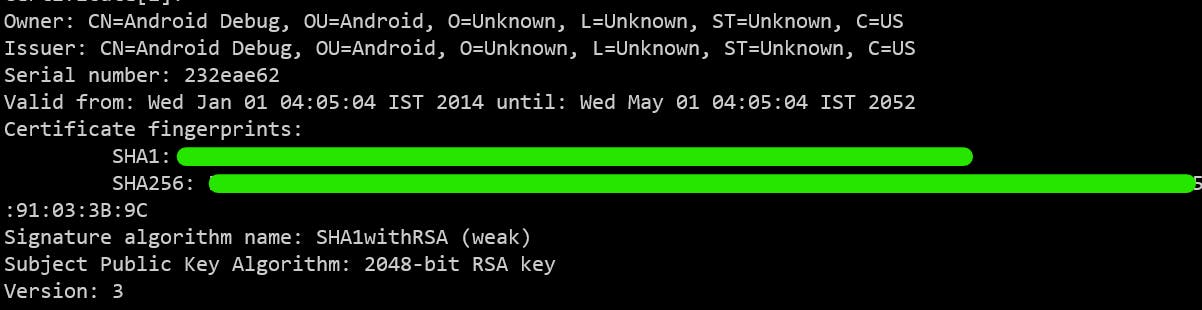
If it asks for the password, the password will be android as it is the default password. After that you will get your SHA-1 code:
After that, click next and download the google-services.json file:
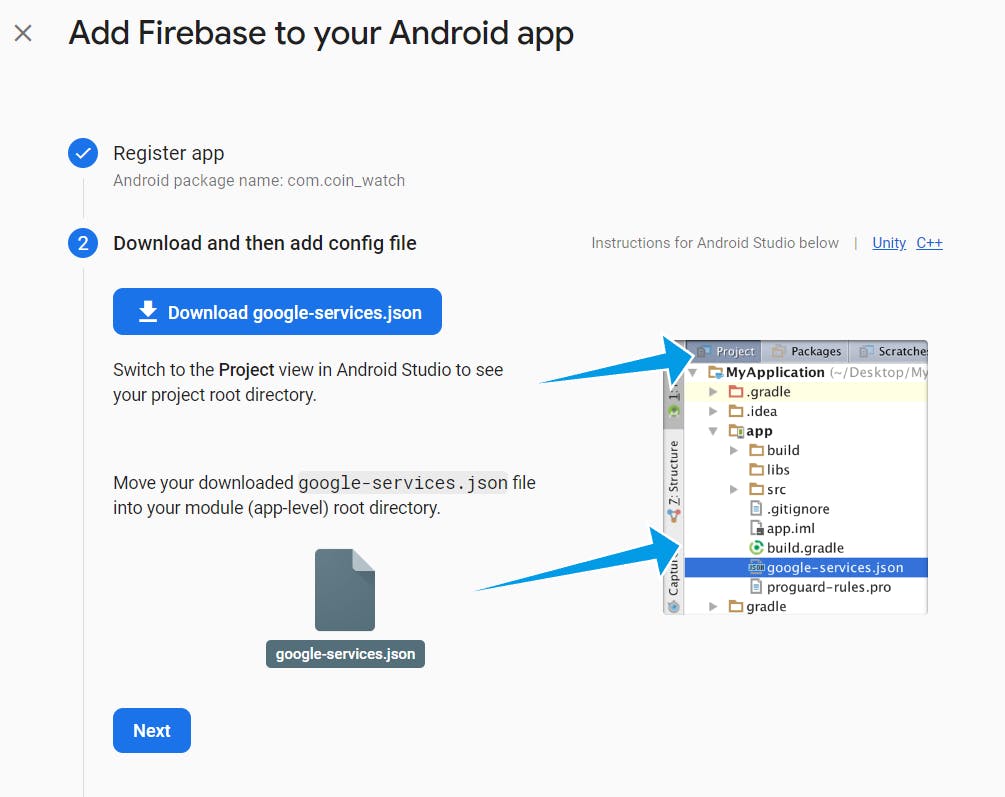
After downloading and moving the file, proceed by clicking next. After that your service configuration is complete.
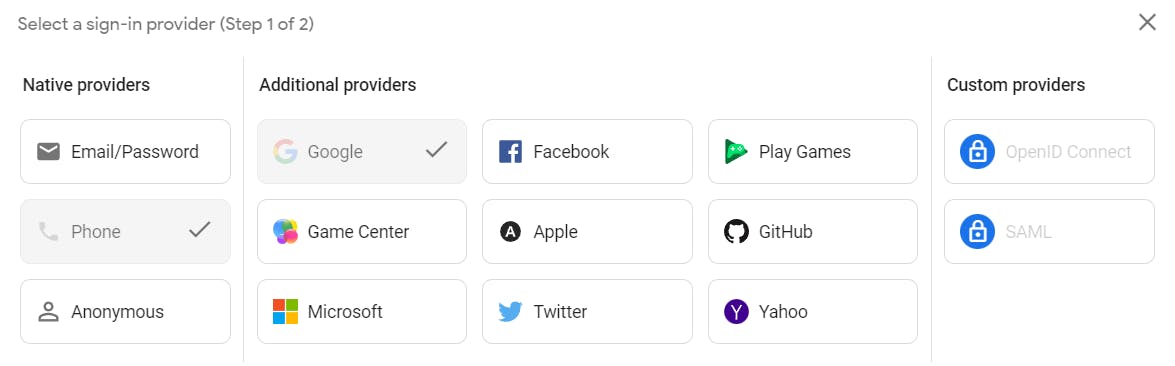
Now back to the dashboard, press on the authentication tab from the build category of the sidebar and click on get started. Click on the Sign-in method tab and choose the Google service provider & Phone service provider. Enable and save it and wait for a few minutes to enable this service.
Projection Configuration 📓.
Now that you have downloaded the google-services.json file and enabled the google service, you now have to connect the firebase SDK dependencies to the android.
To do that, open the gradle file present in /android the folder and paste the following code. This code will connect the SDK to your android development kit.
dependencies {
    ...
    classpath 'com.google.gms:google-services:4.3.15'
    ...
}
Now open /android/app/build.gradle and paste the following code with the other apply plugin section. This will allow the SDK plugin to work with your android app.
...
apply plugin: 'com.google.gms.google-services'
...

dependencies {
    ...
    implementation platform('com.google.firebase:firebase-bom:31.2.3')
    ...
}
After that, install the flutter dependencies to enable the firebase services in your app by using the following command:
flutter pub add firebase_auth firebase_core
After installing, re-build your application as hot reload doesn't work when you change something in the android or ios folder.
Some Potential Problems 😓.
There might be the case that you ran into some potential problems that I faced.
The first problem is that you will get an error related to minimum SDK saying that a particular version is required. To solve that issue, open the /android/app/build.gradle file and search for minSdkVersion. Currently, it will be showing:
minSdkVersion flutter.minSdkVersion
Change it to the particular version that your intellisense is suggesting.
The other problem that I faced was "App requires multi-dex support".

To resolve this issue, open the /android/app/build.gradle file and paste this code just under the minSdkVersion line:
multiDexEnabled true
After doing that, again re-build your entire app and check if it giving any error in the console. If not, then you have done the firebase configuration successfully🎉. If it gives the error, let me know in the comments.
Firebase integration with Flutter 📝.
Before starting the implementation, close your existing server and rebuild the project using the command:
flutter run
or you can press ctrl+F5 or cmd+F5 to run the flutter's debug mode directly.
Now, create a services folder and in that create a firebase_config.dart. This file contains all the services and configuration that requires you to implement Google's firebase OTP authentication. This file contains a FirebaseConfig class which contains several variables and methods which we will use to do the authentication.
import 'package:firebase_core/firebase_core.dart';
import 'package:firebase_auth/firebase_auth.dart';
import 'package:flutter/widgets.dart';

class FirebaseConfig {
  // intialization function
  static Future<FirebaseApp> initialize() async {
    return await Firebase.initializeApp();
  }

  late String finalVerificationIDReceived = "";
  late bool isVerifiedState = false;

  FirebaseAuth auth = FirebaseAuth.instance;

  // function to verify the number and generate OTP
  Future<String> verifyNumber(String? phoneNumber) async {
    await auth.verifyPhoneNumber(
      phoneNumber: phoneNumber,
      verificationCompleted: (PhoneAuthCredential credential) async {
        auth.signInWithCredential(credential).then((value) {
          debugPrint("logged in successfully");
        });
      },
      verificationFailed: (FirebaseAuthException exception) {
        debugPrint(exception.message);
      },
      codeSent: (String verificationID, int? resendToken) {
        finalVerificationIDReceived = verificationID;
        // return verificationID;
      },
      codeAutoRetrievalTimeout: (String verificationID) {
        finalVerificationIDReceived = verificationID;
      },
    );

    if (finalVerificationIDReceived != "") {
      return finalVerificationIDReceived;
    }

    return "";
  }

  // function to verify OTP
  Future<bool> verifyCode(String code, String verificationCode) async {
    debugPrint("line 35 $verificationCode");

    PhoneAuthCredential credential = PhoneAuthProvider.credential(
      verificationId: verificationCode,
      smsCode: code,
    );

    await auth.signInWithCredential(credential).then((value) {
      debugPrint("logged in successfully");

      isVerifiedState = true;
    });

    return isVerifiedState;
  }

  // function to perform signout
  Future<void> signOut() async {
    await auth.signOut();
  }
}
Now, to integrate the functionality of firebase into your flutter application, update your main function in main.dart.
import 'package:app_name/services/firebase_config.dart';
import 'package:flutter/material.dart';

void main() async {
  WidgetsFlutterBinding.ensureInitialized();
  await FirebaseConfig.initialize();

  runApp(const MyApp());
}
Viola! you have configured the Firebase OTP authentication into your system 🎉.
Now, you can import and use these methods (verifyNumber(), verifyCode() and signout()) into your widgets wherever you want.
Thank you! for reading, please leave your comments if any ✌️
Don't forget to bookmark this blog for the future 📌
Connect with the author: